RED HOT DISCOVERIES: ENCOURAGING CHILDREN’S ENGLISH CONVERSATION
DEVELOPING the Confidence to display our ideas
Stage One
How this project started: The BKI children also started another project from the dressing up session that they had with the fabric on second floor. After the loom weaving got underway as a self managed project we started a second project called “FASHION!”
As is always the case with double projects running, particularly when they are self managed, the environment itself plays the part of “another teacher.” It does this by supporting the children’s interactions as they move from place to place within the projects without the need for adult intervention.
Importantly, a strong social element comes into play as the students talk in English together or interact quietly in groups. It is this social aspect of project work that naturally inspires the children to communicate and further support each other as they enthusiastically engage in something that they absolutely love to do. The positivity in the room then has a way of reinforcing itself, and this in turn gives the children the full confidence to speak naturally and spontaneously.

A self portrait by a BKI student
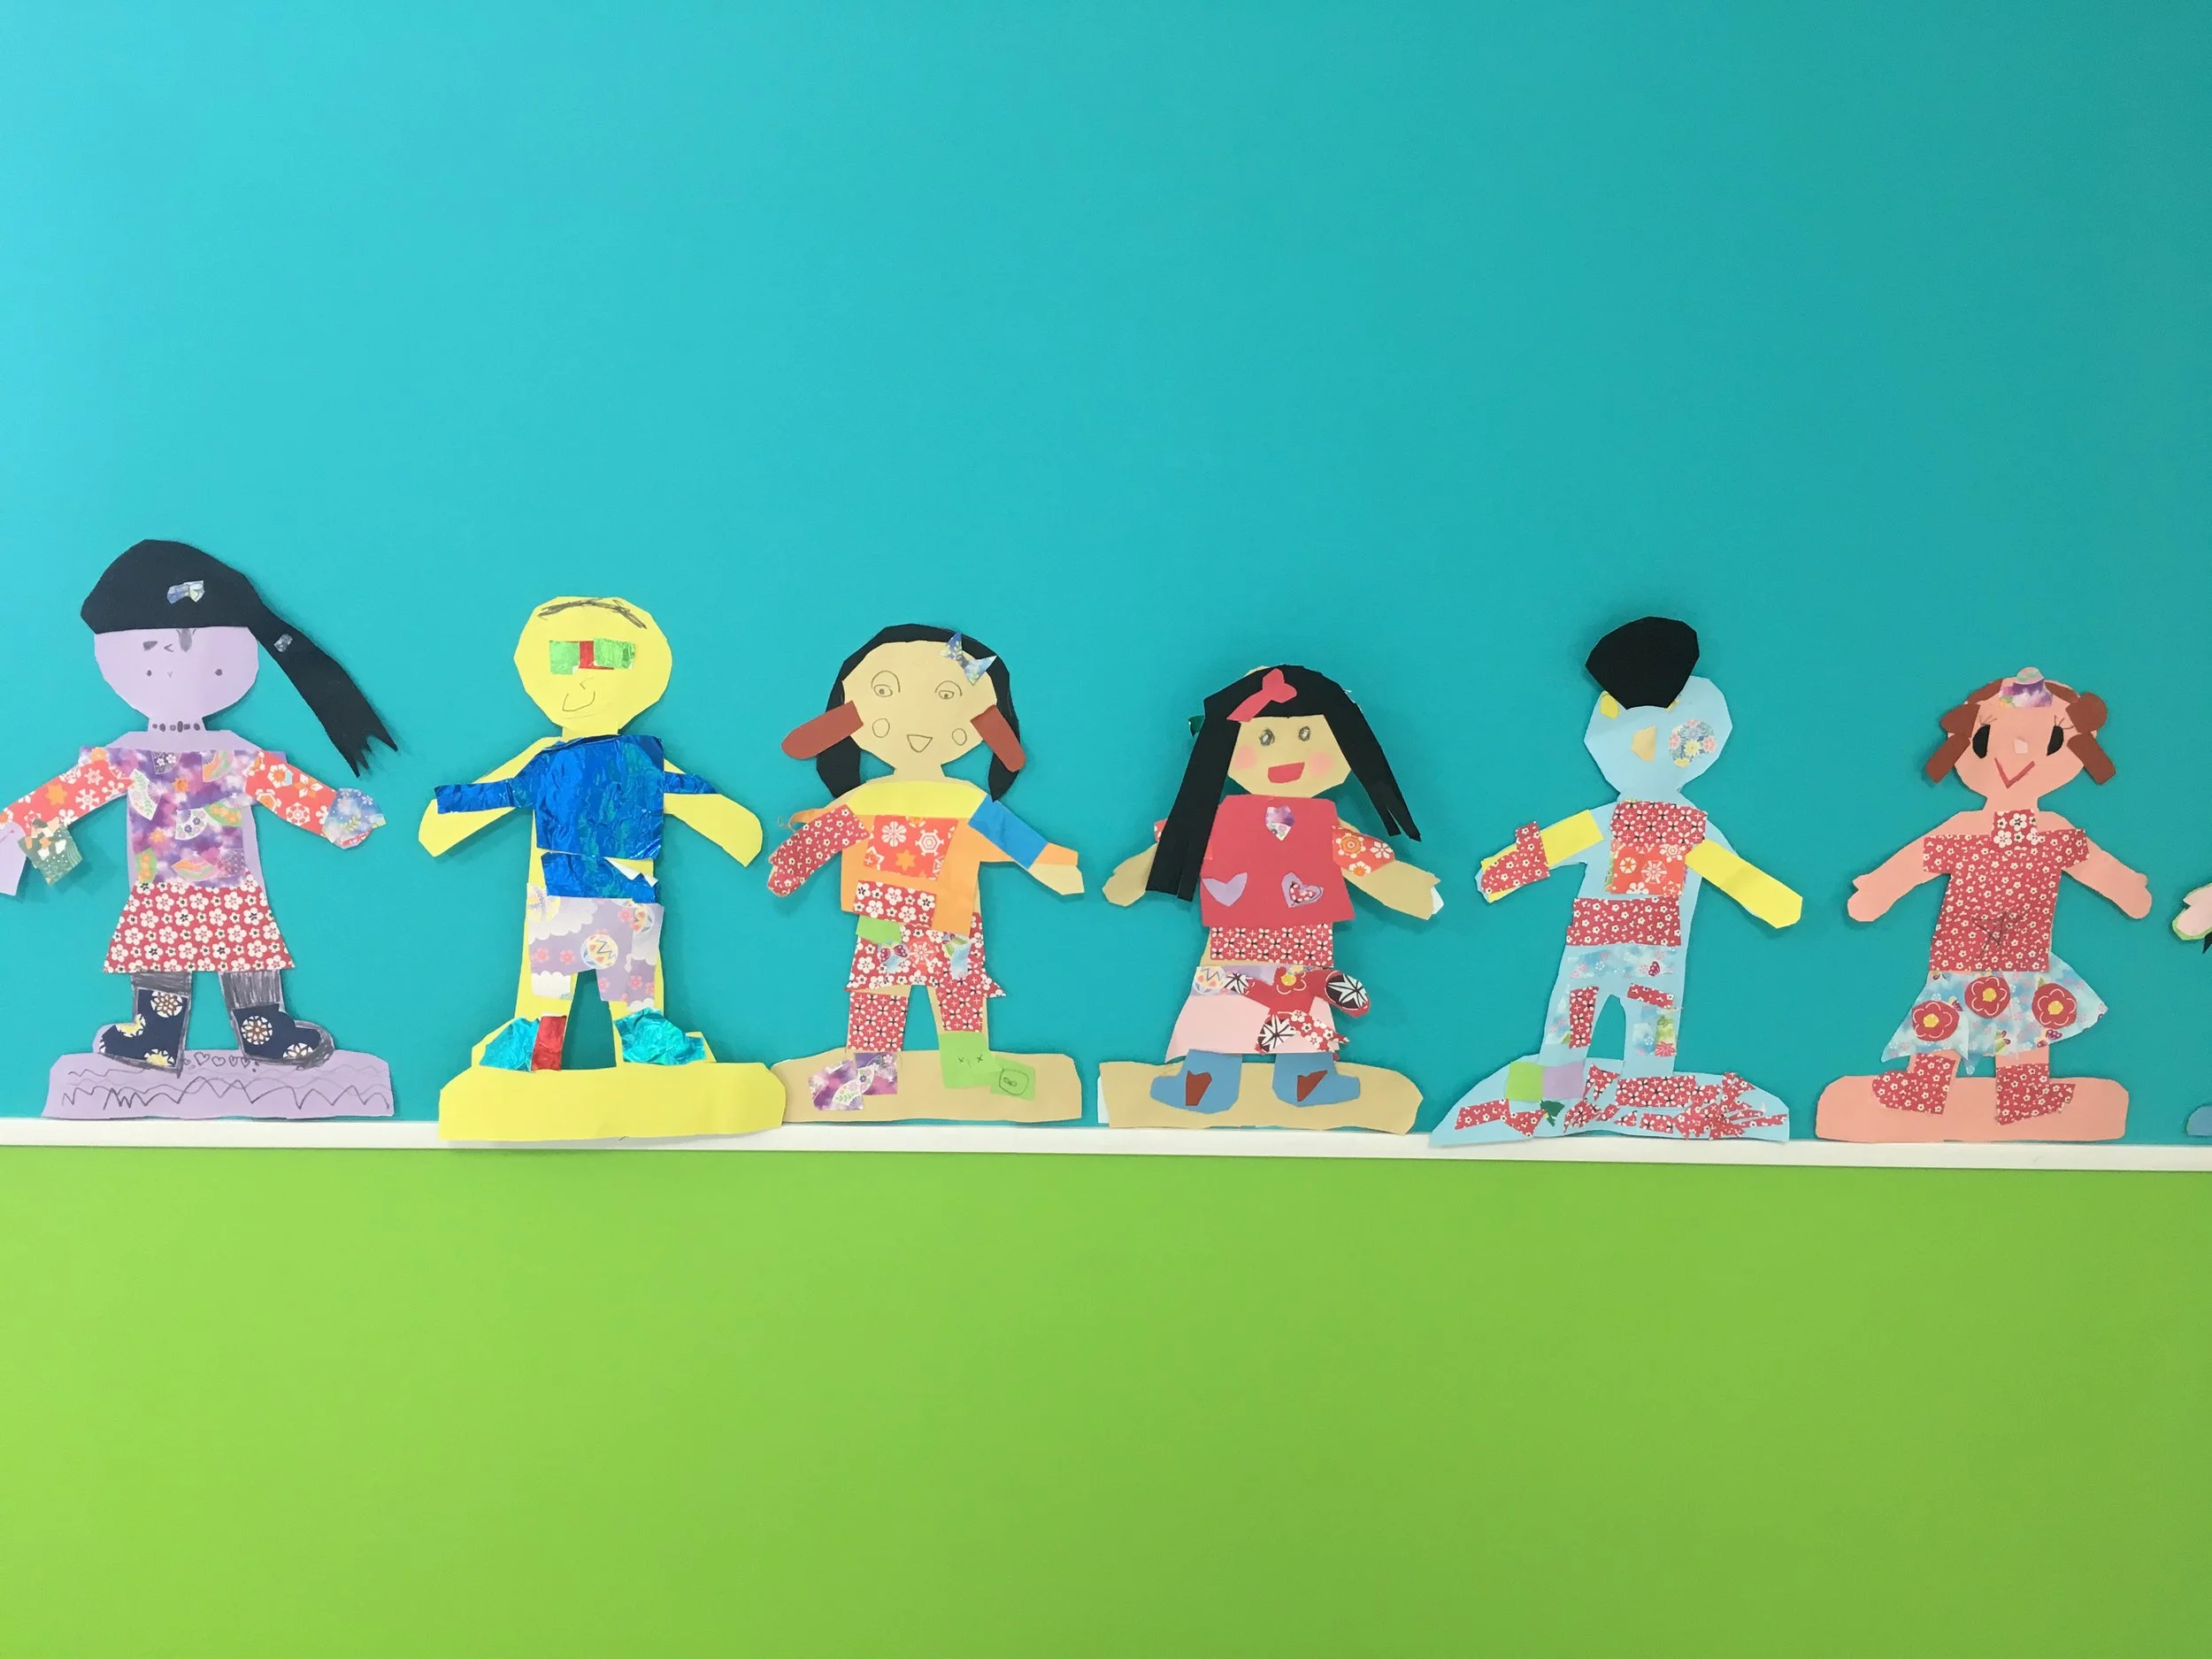
Starting any project from a drawn design is always a good thing. This is the real way it is done in the adult world and so it should also apply to kids projects. Firstly the children drew themselves on paper and then added “Clothes”. To further this we then cut out paper dolls and used coloured paper to dress them.

Dressed paper dolls
Stage two
The next stage of the project moved to using fabric as a base. The kids brought in old T-Shirts, dresses, tops and bottoms. They then commenced adding a variety of items to stylize their garments. Some of these materials included: Beads, bubble wrap, feathers, clear plastic sheeting, fabric scraps, used yoghurt containers, bottle tops, straws, coloured wool, felt scraps, designs cut out of paper, toilet rolls, plastic string, etc.

An old T-Shirt decorated with bubble wrap and beads...

This old shirt was enhanced with feathers and straws using sticky tape. A cape was added to the back.
As you can see from the pictures, the children turned out their own completely unique designs and had a fantastic time completing them. The children become wonderfully focused during such projects and from my own experience I know that that they get a great degree of satisfaction and happiness from the high levels of concentration that naturally take place during such project "Work".
Stage 3
The next stage was to give our BKI kids a confidence boost by getting them to stage their own public fashion show. At first we practiced in the classroom......

We paraded our new designs indoors...
Then we did this in public, down at Musashisakai station, and many of our parents turned out to watch. There was quite a crowd!

Our Public Parade, the crowd gathers in anticipation.....
The kids were all super excited to carry this out. We placed our BKI International Preschool school sign board against a pole and the kids individually posed and paraded up and down in the shade in front of the Musashisakai library.
Their designs were all totally unique and they all looked very confident and proud to be showing their parents what they had made. Great posing!
After this each child made a short speech, in front of the crowd, describing how they had made their creative costume design.
This project really inspired the kids imaginations and they spent weeks talking about it afterwards!
What you can do at home: At home you can pretty much copy everything we have done with this project. Start by getting your 4 yr old to draw a few ideas regarding what they may like. Looking through fashion magazines with your child will help them get going, however I would only recommend doing this if your child is having trouble coming up with ideas of their own.
The process of first drawing, then dressing paper dolls, then using real fabric ,will allow your child’s confidence to grow in stages and should fully bring out their ideas by the time they get to redesigning their old clothes. Don't worry if your child’s final piece ends up looking nothing like their original design! The point here is more to get the creative ideas flowing rather than work to specifications.
We used a variety of methods for attaching our items to fabric. These methods included: Glue (we used white wood working glue but anything that works is OK) Staplers, and sticky tape. This is also a good opportunity to teach your child the basics of sewing with needle and thread.
Putting your child’s finished work away to bring out on the weekend is a great way to surprise dad. Get your child to parade for him!